Turn raw footage into a fully-edited short, with silent gaps cut, captions added, motion graphics, and sound design, just by talking to Claude in plain English.
💡 How it works: Claude Code (inside the Claude desktop app) does the editing in Remotion, a code-based video tool. You drop in a clip, tell Claude what you want, wait a couple of minutes, and you get a finished video.
✅ What you’ll need
- Claude desktop app (Mac or Windows) → claude.com/download
- Node.js (the LTS version) → nodejs.org/en/download
- ffmpeg (handles audio/video behind the scenes)
1. Install the basics
Start a new chat in Claude Code, and paste the following prompt:
Set up a Remotion video project for vertical short-form reels (1080×1920 @ 30fps) with the following:

1. Initialize a Remotion project (npm create video@latest, blank template).
2. Install ffmpeg if it's not already on this machine (brew install ffmpeg on Mac).
3. Clone and build whisper.cpp into a local bin/ folder, and download the base.en model.
4. Create scripts/transcribe.mjs — a Node script that takes an mp4 path, runs whisper.cpp on the audio, and outputs a JSON file of word-level timestamps in the shape { text, startMs, endMs }.
5. Create a public/recordings/ folder where I'll drop raw MP4s.
6. Create src/Captions.tsx — a Remotion component that reads the transcript JSON and displays the active word at one of three Y positions depending on framing context (gap overlay / screen-recording zoom / full-frame).
7. Create src/Root.tsx with a single Composition that mounts the raw video full-frame, overlays gap scenes on top, and renders captions over everything.

Don't write any actual reels yet — just the framework. Use TypeScript. Print a final summary of every command I need to run, and confirm everything builds.
2. Install the Remotion skill into Claude Code
- Go to Customize → Skills → Add Skill (the + icon) → Create Skill → Upload Skill
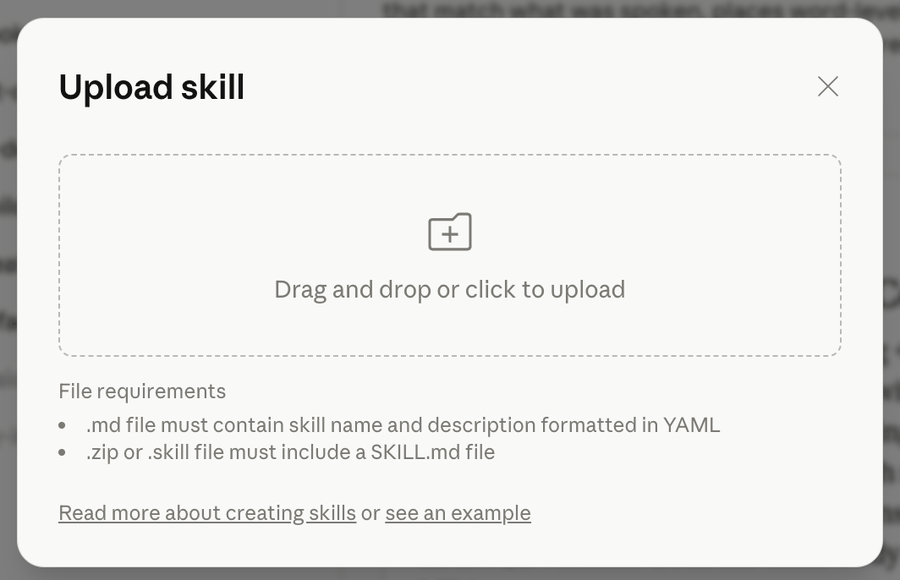
- Download the skill from this Google Drive link
- Drag/upload the
.mdfile into the “Upload skill” box shown above
3. Set up your Sound Pack & Music Pack
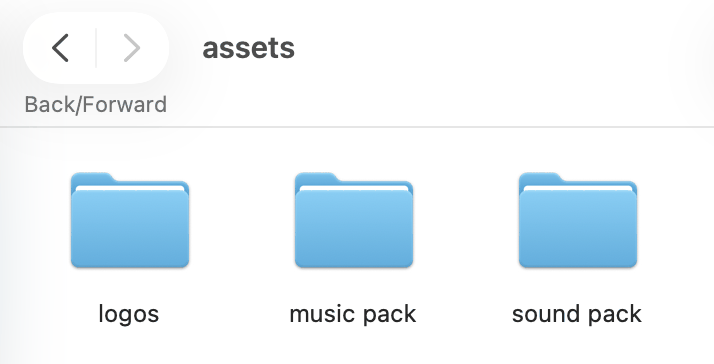
Sound effects and background music live in your project’s public/assets/ folder.
- Create these two folders (or just ask Claude to):
public/assets/sound pack/public/assets/music pack/
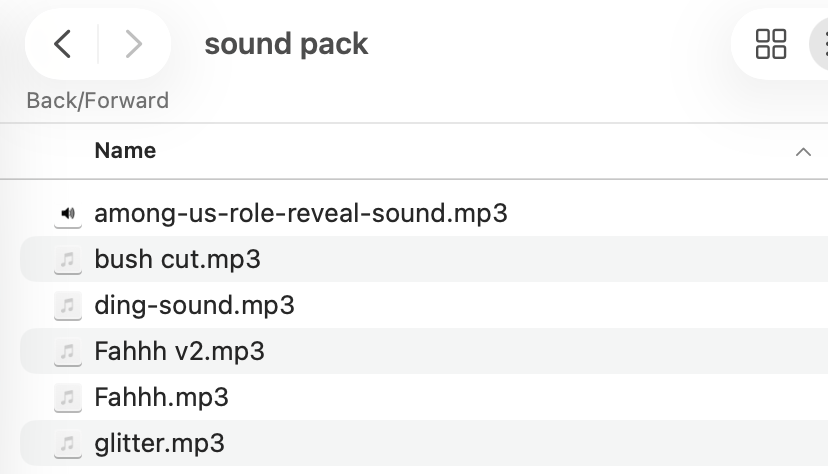
- Drop your sound effects (
.mp3) into sound pack, and your music tracks into music pack.
Where to get them for free:
- 🎵 YouTube to mp3 converter → media.ytmp3.gg
- 🔊 Free sound effects → pixabay.com/sound-effects
- 🔊 More sound effects → myinstants.com
💡 Name your files clearly (e.g.
woosh.mp3,ding.mp3,riser.mp3). It helps Claude pick the right sound for each moment.
🎯 How to use it: 4 use cases
1. Adding captions
-
Drop your raw clip into
public/recordings/. -
Tell Claude:
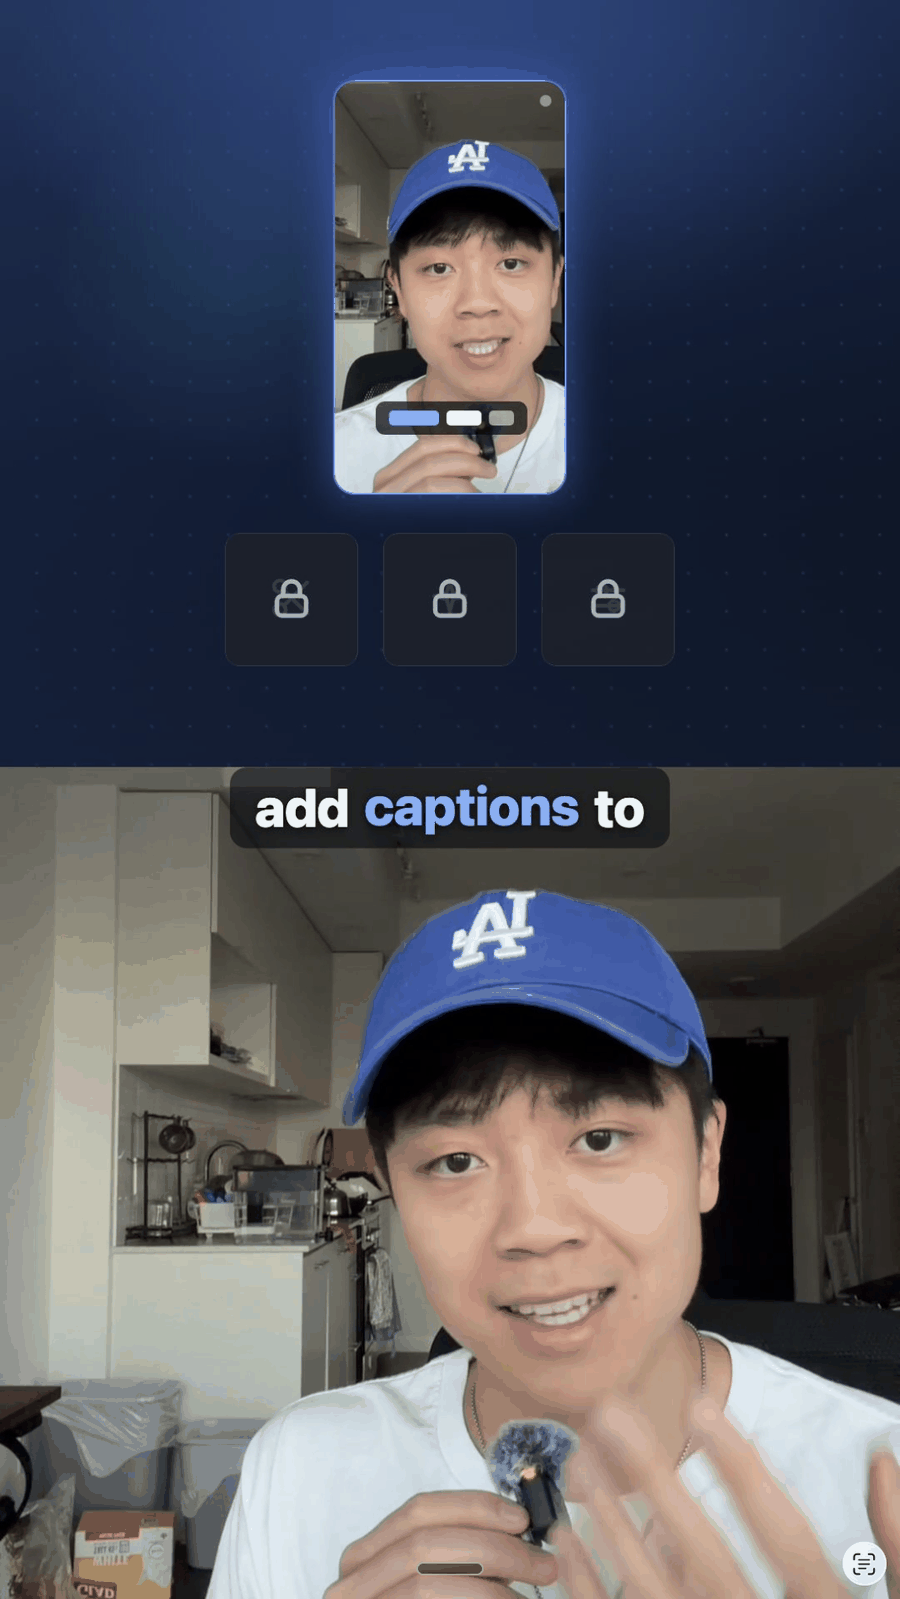
“Transcribe this and add TikTok-style captions, 2 to 3 words at a time.”
-
Claude transcribes your audio and lays word-by-word captions across the video, and will fix any misheard names if you tell it the correct spelling.
2. Creating motion graphics
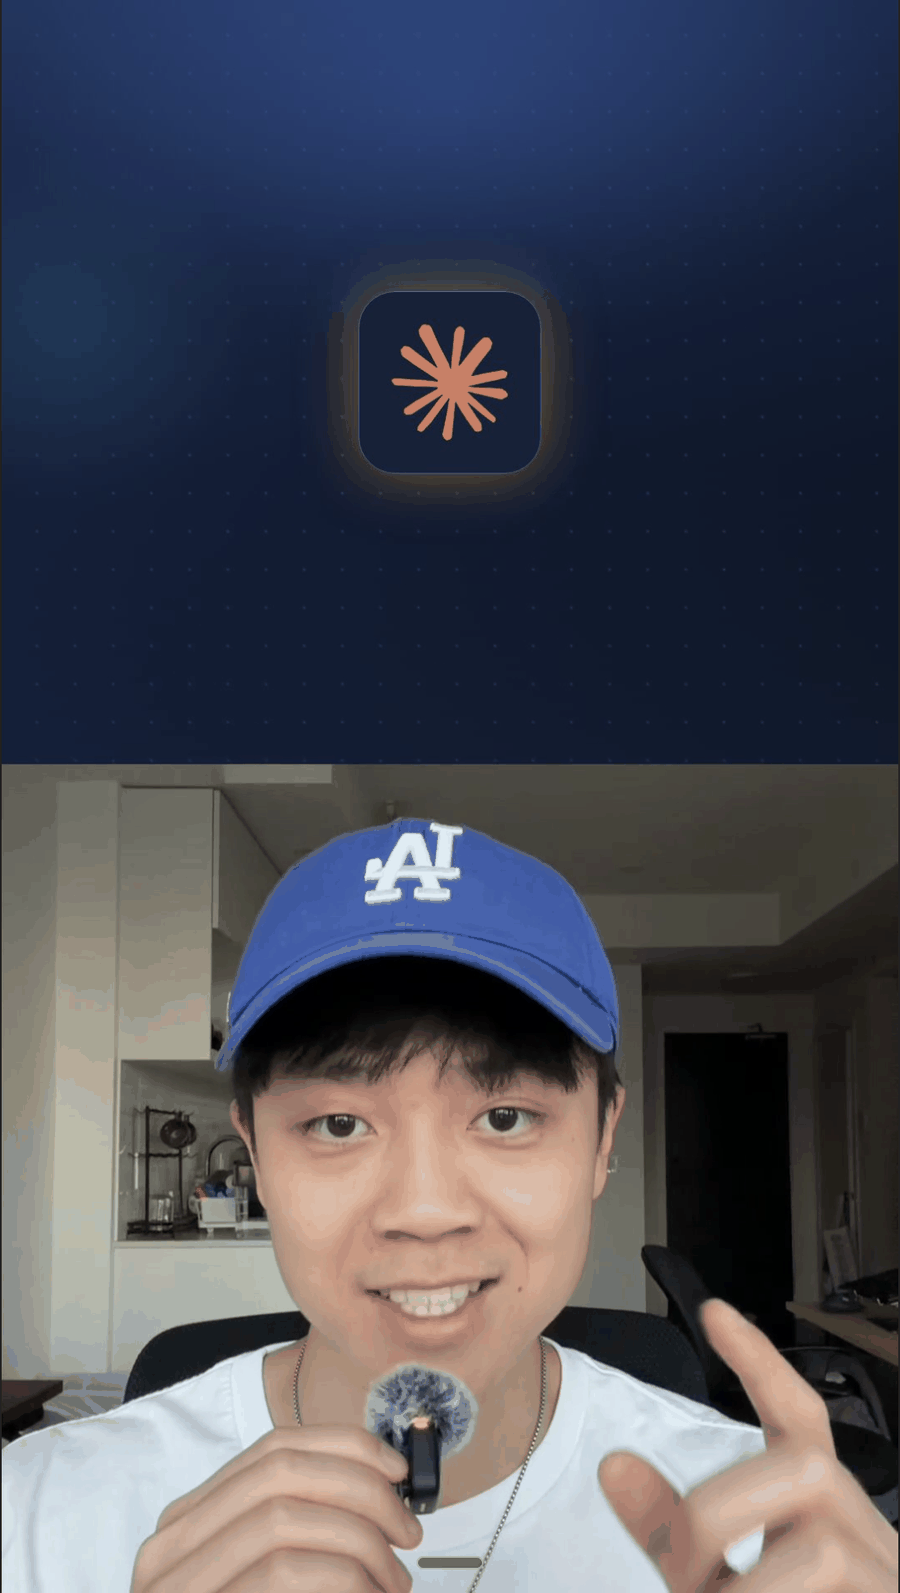
- While filming, crop/move your footage down to create a black square in the part of the frame where you want a graphic to appear. That’s the marker.
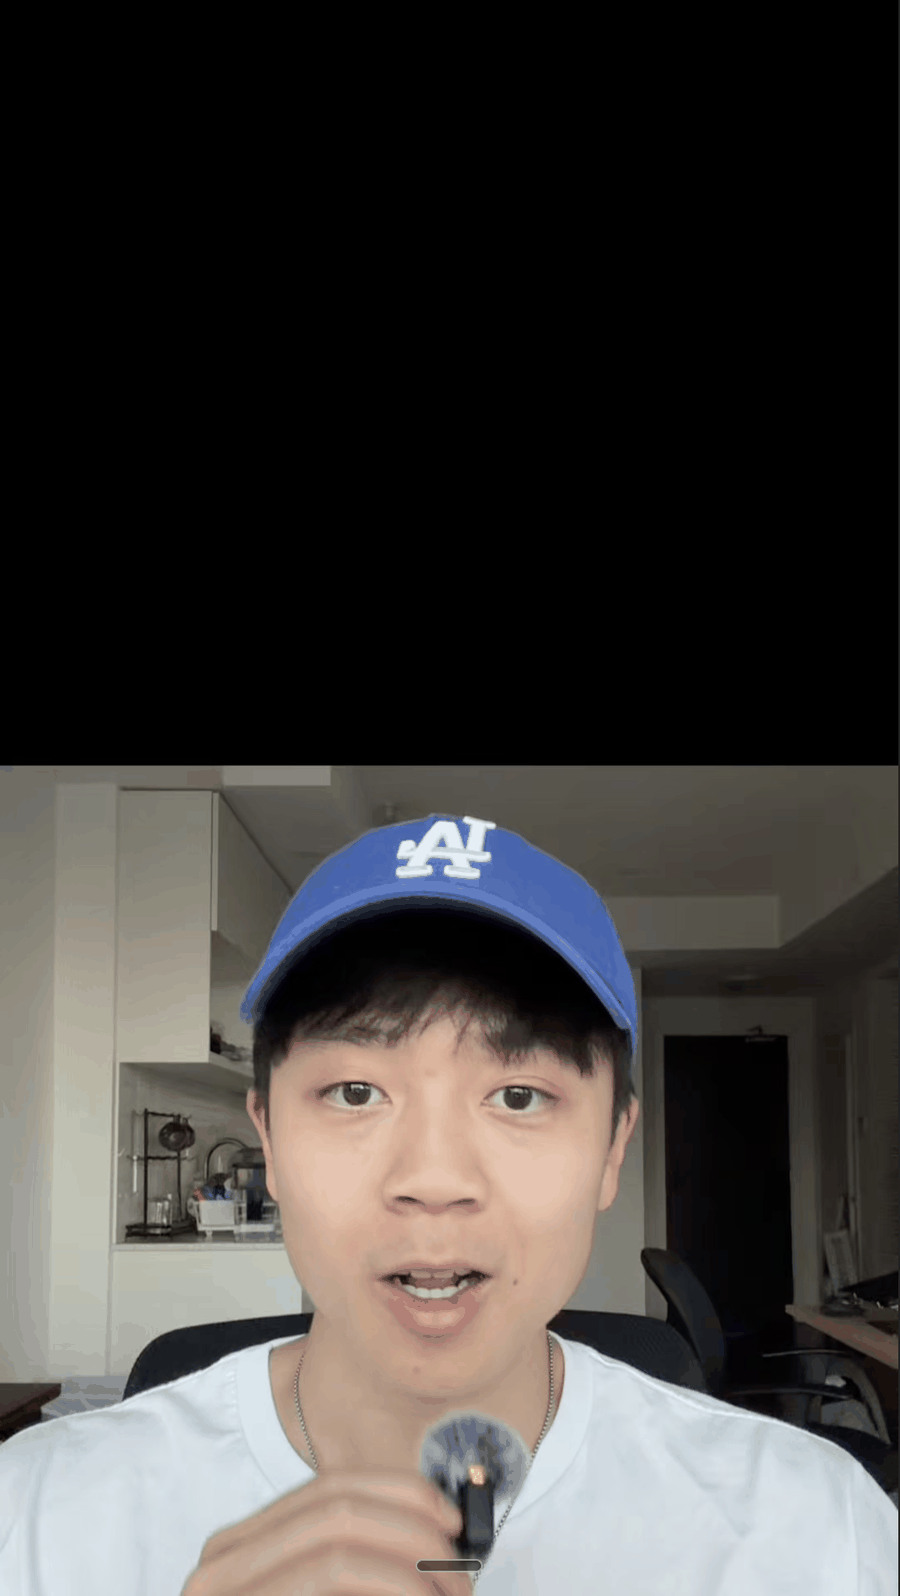
-
Drop the clip into
public/recordings/and tell Claude what each moment should show:“In the black box while I talk about X, animate a Y.”
-
Claude finds the black boxes automatically and builds clean motion graphics inside them, matched to what you’re saying.
3. Cinematic screen recordings
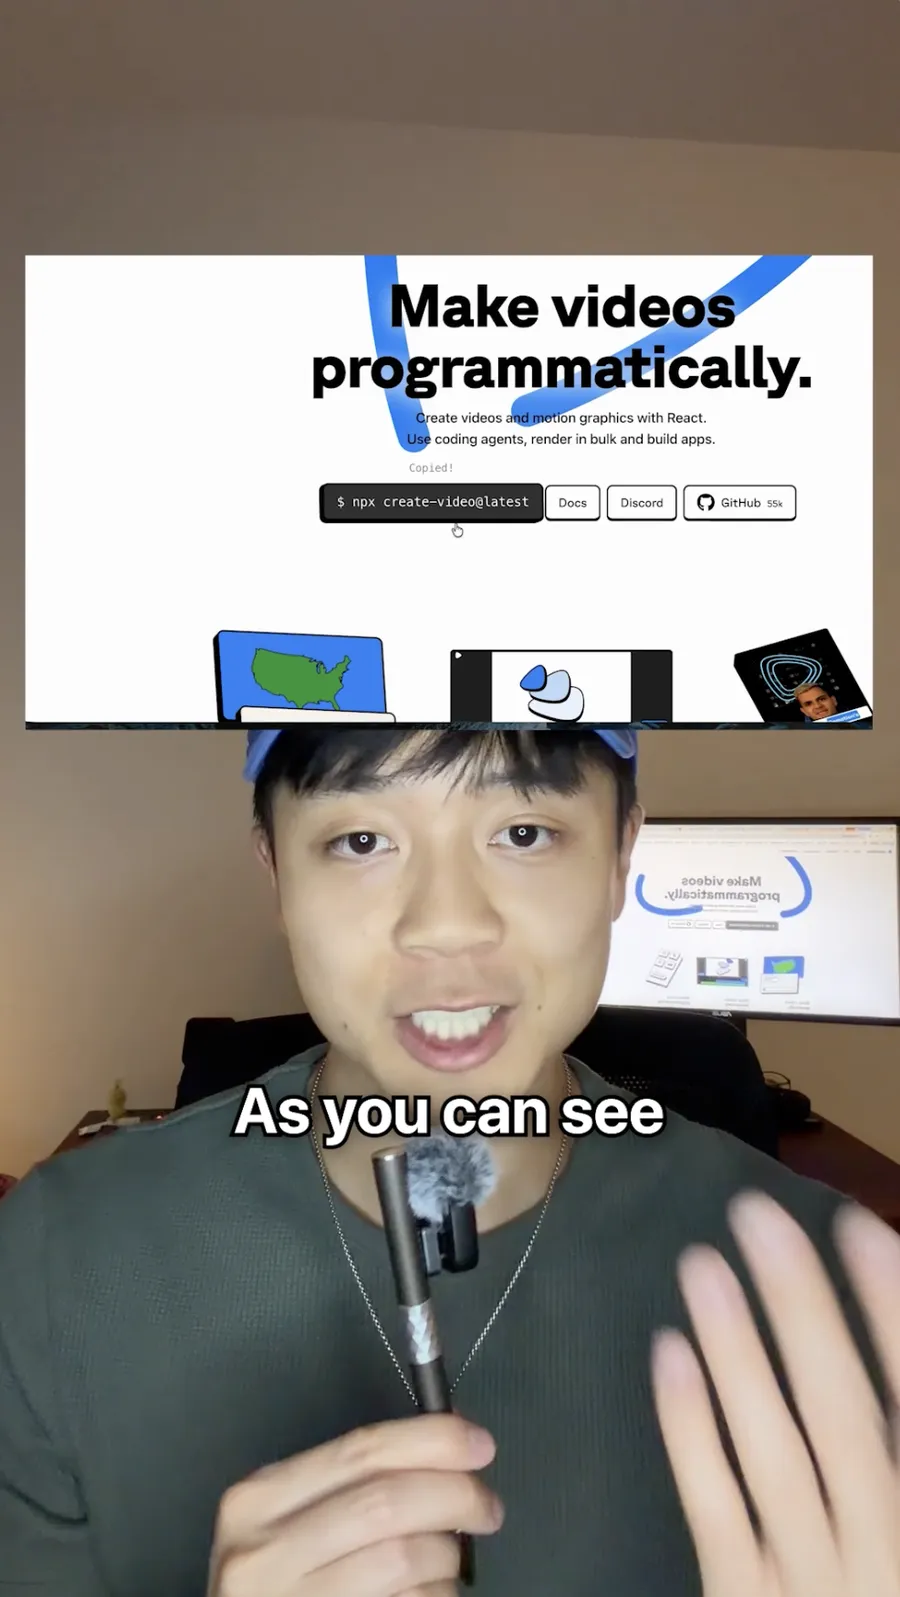
Claude can also edit a screen recording the way Screen Studio would: zoom-ins, panning, highlights, and a generated cursor journey. It’s most useful for product demos or any tutorial or walkthrough you’re shooting.
-
Drop your screen recording into
public/recordings/. -
Tell Claude:
“Use Screen Studio-like editing on this screen recording called [xyz].”
-
Claude follows the action on screen, pushing in on whatever you’re clicking and panning between regions, then smooths the cursor path so it reads as deliberate rather than jittery.
4. Using the Sound Pack & Music Pack
-
Make sure your sounds/music are in the folders from step 3.
-
Tell Claude:
“Add [track name] as background music, low under my voice, and place sound effects from the sound pack wherever they fit.”
-
Claude sets the music low enough that your voice stays prominent, and drops sound effects (whooshes, dings, etc.) right on the animation beats. Ask it to swap or adjust the volume of any sound by ear.
🚀 That’s it. Drop in raw footage, tell Claude how you want it to look, and let it edit. Anything you want changed afterward, just ask in plain English.